

Hi everyone,
Well, here I am again...showing you the latest silver and copper metal clay ring of mine for the RAW project. I have 8 and 9 done already but you will have to go to my blog to see the little hints and photos! I will post them here when I post them on the Flickr site.....only my blog has the early bird specials!!! (oh, that could so be a ring!!! what does a early bird look like, I wonder???).....
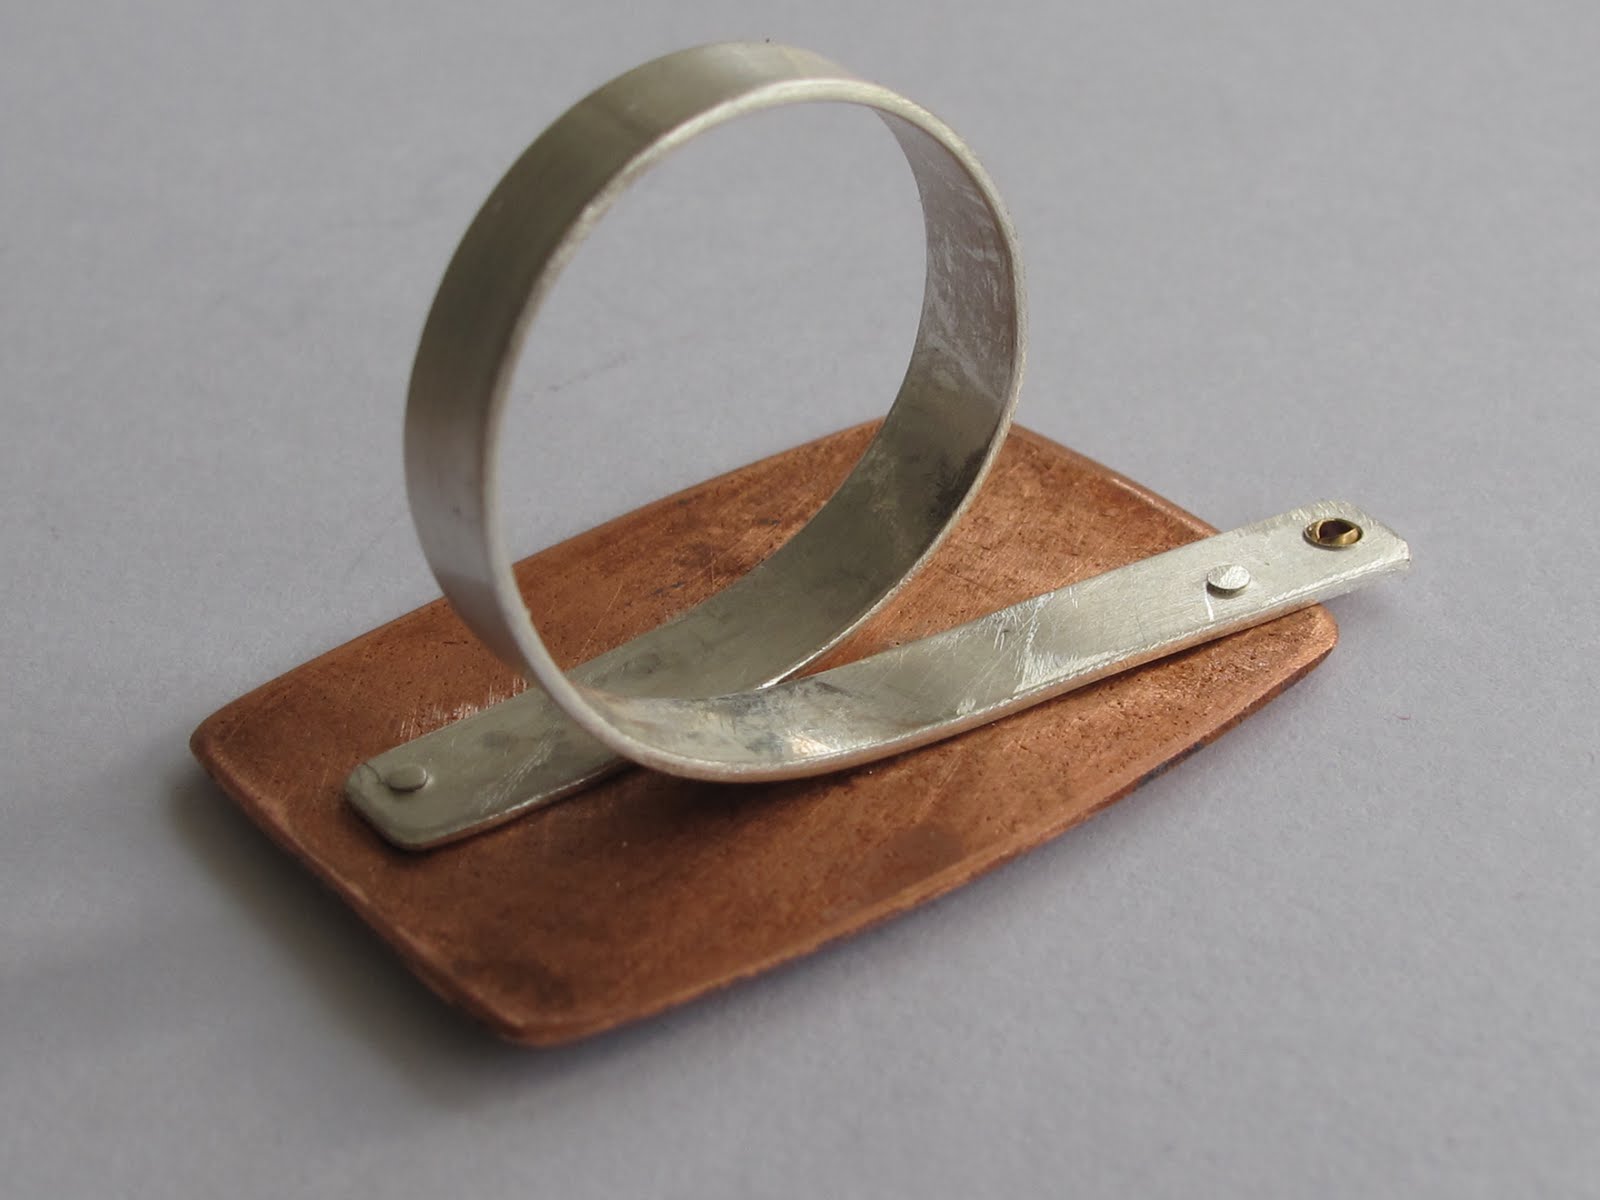
Anyway, this was a really fun ring to make....as you know, I am experimenting with pre-fired bits of metal clay that I haven't used in the projects they were intended for (earrings, this time) and since I don't solder, I am always trying to think of new ways to attach the ring band. This time I decided to use a lovely little bit I had made in Gordon's glass last Feb. It was textured with a tearaway plate of a cherub image that I have always liked. I decided to antique it with acrylic paint (like I showed how to do at the PMC Conference) and then heat set the paint so I could lightly sand the ridges to show the little cherub. I used 2000 grit sandpaper and a light touch to bring him into view. I then antiqued a fine silver #7 disc I had made with the same color paint so both pieces would work together. I choose the number 7 because the size was right and the holes I had pre-drilled before firing were in the right direction to hold the rivets. I had to be careful of where I put the rivets since they would show and I wanted to use them as part of the design...(not in the middle of the cherubs tummy)....makes a difference to think about these things first. I also had to make sure I made the shank long enough to go around my finger and be comfortable but still have enough left over to go to the ends of the top panel. I decided to use rivets on the #7 disc and twisted the image so it lined up on the band. After those two rivets were in, I formed the shank until it was where I needed it to be and the correct size for me to wear. I also wanted the opposite end to be riveted down to hold the shank in place and I needed the rivet to work with the image. If you look closely on the image, you will see that the little cherub is holding the big ball (large #7 disc) in one hand and is throwing a small ball up with his other hand. I am really delighted that this ring is held together with only 3 rivets!! I decided to leave the little square of sterling on the right upper corner because it repeats the square outline of the ring....it is kind of boring without that little unexpected bit of silver peeking out of the edge. I also decided to put in the amethyst pre-set to pull all of the colors together. I hope you like it and it inspires you to play with different ways of using the needed bits in your jewelry pieces (such as ring bands, pendant bails, earring hooks....you know...the essentials that you design around) ....anyway, have fun in your studios...I know I am going to! Kelly
More inspiration. I am determined to play with rivets!
ReplyDelete